
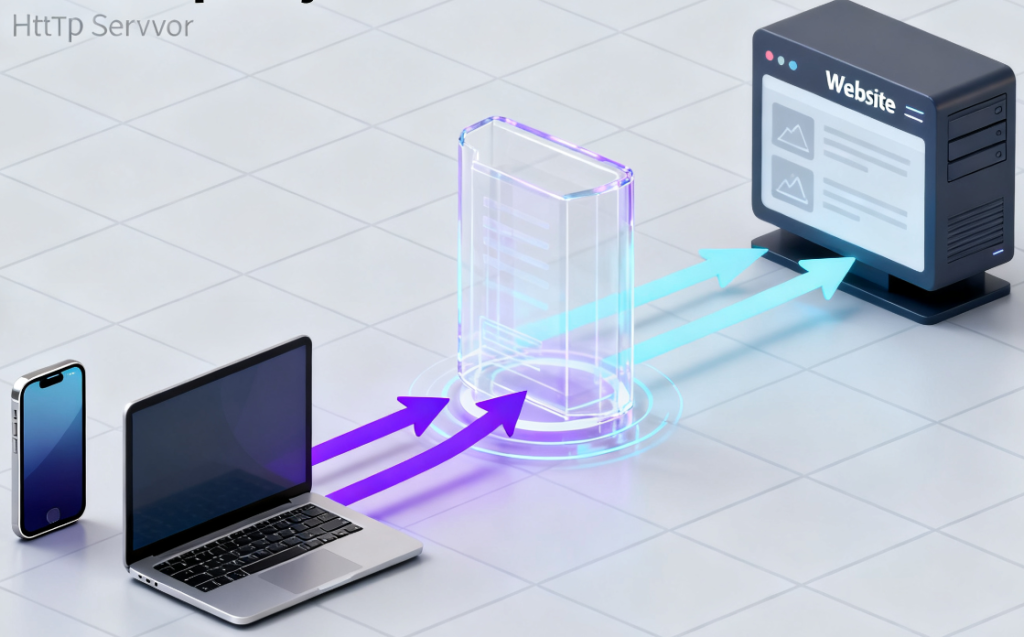
下面给出一份真正“从零开始”的 HTTP 代理架设指南:既教你把代理服务器本身跑起来,也告诉你怎样把它做成“能拿去用”的服务(认证、加密、多终端、故障排查)。整套流程在 1 核 1 G 的最小云主机即可跑通,系统以 Debian/Ubuntu 为例,CentOS 只把 apt 换成 yum 即可。

一、准备:10 分钟搞定“原材料”
-
一台能上网的 Linux 云主机(境外或境内按需求选,后面以 49.12.34.56 举例)。
-
一个非 22 的 SSH 端口,防火墙先放通 3128(Squid 默认)和 80/443(若以后要配网站/证书)。
-
域名一条(可选,但建议有,后面做 TLS 必须)。
-
基础工具:
apt update && apt install -y squid apache2-utils openssl curl
二、最简可行:30 行配置把 Squid 跑起来
目标:让浏览器把 49.12.34.56:3128 填进去就能翻出去,且只有你知道的账号能用。
-
备份默认配置
cp /etc/squid/squid.conf /etc/squid/squid.conf.bak -
生成密码文件(basic auth)
htpasswd -bc /etc/squid/passwd alice 123456 # 用户 alice,密码 123456 -
写入最小配置(/etc/squid/squid.conf 清空后贴入)
# === 网络层 === http_port 3128 dns_v4_first on # === 访问控制 === auth_param basic program /usr/lib/squid/basic_ncsa_auth /etc/squid/passwd auth_param basic realm 私人代理 acl auth proxy_auth REQUIRED http_access allow auth http_access deny all # === 性能/隐藏 === forwarded_for delete via off request_header_access X-Forwarded-For deny all # === 日志 === access_log /var/log/squid/access.log -
检查语法 & 启动
squid -k parse # 没报错再继续
systemctl restart squid && systemctl enable squid -
客户端验证
浏览器手动代理 49.12.34.56:3128,弹出框填 alice/123456,访问 ip.skk.moe 看是否出口 IP 已变成 49.12.34.56。
命令行:
curl -x http://alice:123456@49.12.34.56:3128 https://jidcy.com/ip
三、进阶 1:TLS 前端(https 代理端口)
Squid 本身不处理 TLS,但可以把 3128 隐藏在本地,对外提供 443 端口的“HTTP CONNECT 隧道”,再把流量导回 3128。这样客户端配置 https://域名:443 即可,防止裸奔 3128 被扫。
-
申请证书(Let’s Encrypt 自动)
apt install -y certbot
certbot certonly –standalone -d proxy.yourdomain.com -
安装 stunnel4(轻量 TLS 封装)
apt install -y stunnel4
cat >/etc/stunnel/stunnel.conf <<‘EOF’ [squid] accept = 443 connect = 127.0.0.1:3128 cert = /etc/letsencrypt/live/proxy.yourdomain.com/fullchain.pem key = /etc/letsencrypt/live/proxy.yourdomain.com/privkey.pem EOF systemctl enable stunnel4 –now -
客户端侧
代理类型选 HTTPS,地址 proxy.yourdomain.com,端口 443,账号密码照旧。
curl 验证:
curl -x https://alice:123456@proxy.yourdomain.com:443
四、进阶 2:透明代理(无需终端配置)
想“强制”局域网内所有设备走代理,而不用手动填代理地址,用 iptables 做透明重定向即可。以下规则在 Linux 网关/路由器一次生效:
把 80/443 流量重定向到本地 3129(Squid 再开一个 intercept 端口)
iptables -t nat -A PREROUTING -i eth0 -p tcp –dport 80 -j REDIRECT –to 3129 iptables -t nat -A PREROUTING -i eth0 -p tcp –dport 443 -j REDIRECT –to 3129
Squid 侧再加
http_port 3129 intercept https_port 3129 ssl-bump cert=/etc/squid/proxy-ca.pem generate-host-certificates=on
(ssl-bump 需自签 CA 并导入客户端,否则 HTTPS 会报警告;生产环境请谨慎评估合规风险。)
五、进阶 3:多出口 IP 轮换
如果买了 /29 或 /26 多 IP 机器,可让 Squid 按轮询或哈希方式把请求分散到不同出口,既提高并发,又降低单 IP 被封概率。
-
附加 IP 绑定到网卡(以 49.12.34.57~62 举例)
for i in {57..62}; do ip addr add 49.12.34.$i/32 dev eth0; done -
在 squid.conf 加
acl random_outgoing ip 49.12.34.0/24 tcp_outgoing_address 49.12.34.57 random_outgoing tcp_outgoing_address 49.12.34.58 random_outgoing …或者使用 external_acl_type + 脚本实现“每次请求换 IP”
六、日常运维:必用 6 条命令
-
实时看谁在连
tail -f /var/log/squid/access.log | awk ‘{print $3,$9,$7}’ -
当前活跃连接
squidclient -h 127.0.0.1 -p 3128 mgr:active_requests -
内存/命中率
squidclient -h 127.0.0.1 -p 3128 mgr:info | grep -E ‘Mem|Ratio’ -
清空缓存(改配置后想立即生效)
squid -k shutdown && sleep 2 && squid -N -d 1 -
限制单 IP 最大并发(防扫)
acl conn_max src 49.12.34.0/24 tcp_outgoing_connections 30 conn_max -
自动拉黑 4xx/5xx 过多的 IP(配合 fail2ban)
新建 filter.d/squid-4xx.conf,匹配 403/429 等,5 分钟封 1 小时即可。
七、常见坑速查表
-
改了配置却不生效?→ 多数发行版有 include 目录,确认没在 conf.d 里被后面覆盖。
-
浏览器报“代理服务器拒绝连接”?→ 看 squid 日志 TCP_DENIED/407,90% 是账号输错或 http_access 顺序问题。
-
用 HTTPS 代理却证书报错?→ 客户端类型选“HTTPS”而不是“HTTP”,且端口必须是 443;自签 CA 要手动导入系统。
-
透明代理 HTTPS 网页打不开?→ 没做 ssl-bump 或客户端没信任 CA;或者目标站点用了 HSTS + Pinning,只能放行无法代理。
-
速度比直连慢?→ 先测延迟而不仅是带宽;海外小鸡建议开 BBR /锐速;squid 关闭缓存(maximum_object_size 0)只做转发会更快。
八、下一步可玩
-
用 Prometheus + squid-exporter 把“命中率、响应时间”打到 Grafana 面板。
-
写个 Python 脚本调用 API 自动按“剩余流量”切换上游代理,实现动态负载。
-
把整套配置 docker-compose 化,一条命令起 stack,方便迁移到任何云。
-
研究隧道叠隧道(WebSocket+TLS+CDN),在极端网络环境下隐藏代理特征。
至此,你已拥有一台“可认证、可加密、可扩容”的私人 HTTP 代理,后续按需加模块即可。
原创文章,作者:余初云,如若转载,请注明出处:https://blog.jidcy.com/ip/qqhttp/668.html